
Appendix A: Troubleshooting
Follow the steps below if you see build path errors in Eclipse IDE. This error occurs when the local Java version is not linked properly in Eclipse IDE.
To link local Java version in Eclipse IDE:
-
Launch Eclipse IDE.
-
Navigate to Package Explorer > right-click FOLDER > Build Path > Configure Build Path.... The Properties for FOLDER window opens. Here, FOLDER refers to your locally created folder.
-
Click Java Build Path in the left index, then click Libraries tab in the right pane.
-
Select JRE System Library [bin] (unbound), click Edit.
-
Select Alternate JRE > Installed JREs. The Preferences (Filtered) window opens.
-
Click Add.... Select Standard VM in the JRE Type window. Click Next>. The Add JRE window opens.
-
Click Directory... for JRE home: field. The Select Folder window opens.
-
Navigate to JRE bin in your local machine. By default, the downloaded Java files are placed in C:\Program Files\Java\jre1.8.0_333\bin of your local machine. Click Select Folder.
-
Click Finish.
-
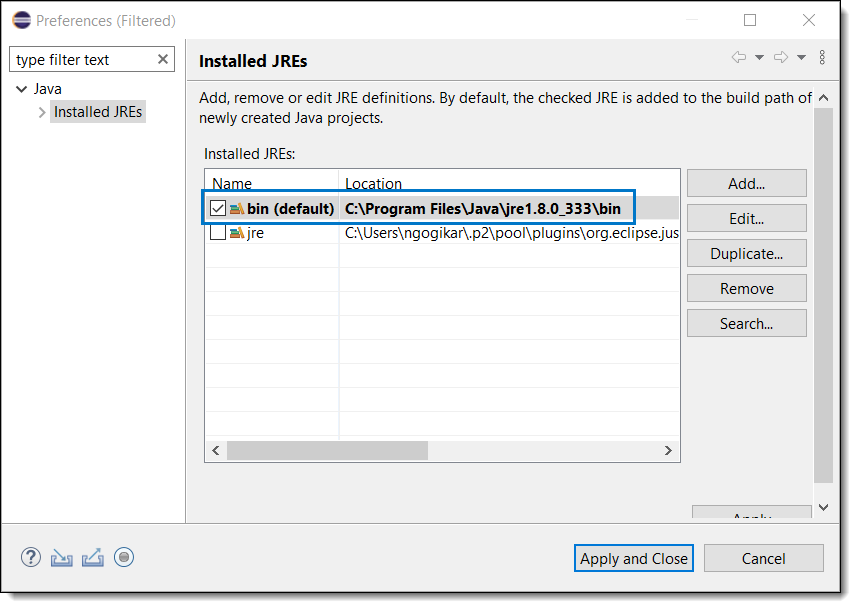
In Preferences (Filtered) window enable the bin path, as shown below. Click Apply > Apply and Close.
-
Click Finish.
-
Click Apply > Apply and Close.